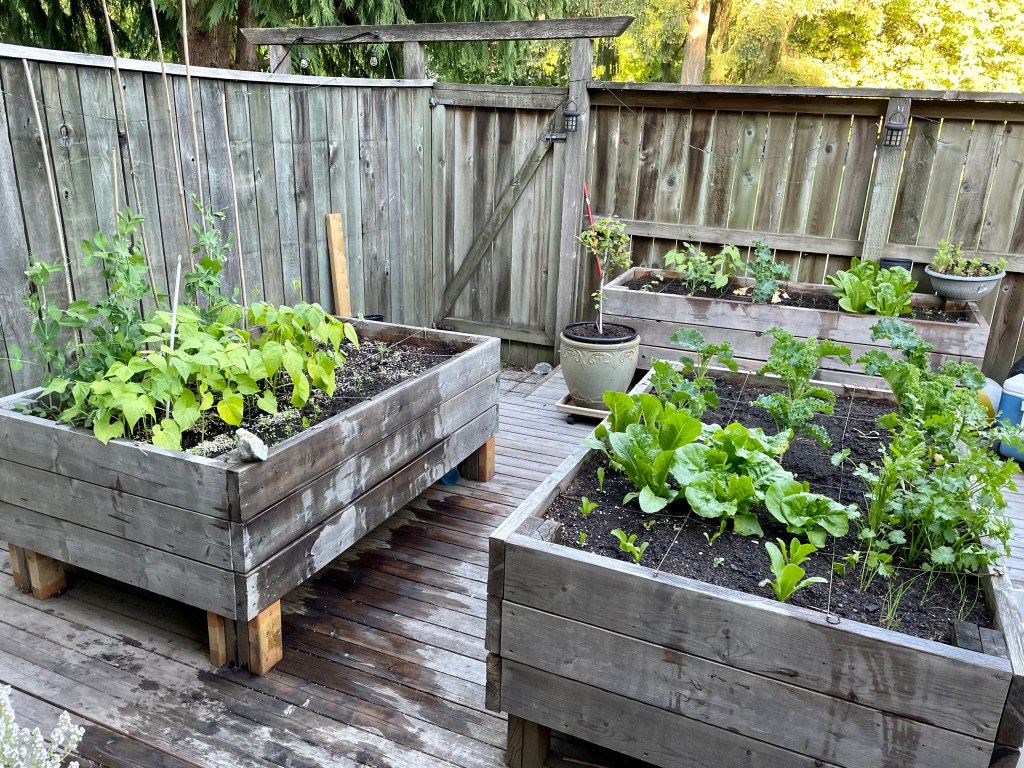
We hope you have enjoyed our last couple of posts in our Spring Planting series. Our own seeds have sprouted and we’ve had some harvest from the peas, lettuce, kale, and herbs already. But let’s keep it coming, right? So, we’re going back to the soil and keeping it healthy so it can grow great produce. There are a lot of fertilizers you can add to the soil, but one of the very best is produced from your kitchen scraps and worms.
Today, we’re sitting down with Steve to talk about worm composting, also known as vermicomposting.
If you’ve read either of the other posts in this series, you have heard us mention Angela and Steve. They, along with their sons, Aaron and Jace, live in our townhouse complex. Sometimes when we visit them on the other side of the complex, we’ll see a pair of bald eagles high up in a tree by their house. Yes, bald eagles hang with them.
Caseigh: Steve, thanks for agreeing to talk with us today. You join workshops, listen to podcasts, and read up on worm composting. You are our local expert!
So, what are the benefits of worm composting?
Steve: Well, you get highly nutritious fertilizer for growing vegetables and plants. Food waste gets processed quickly by the worms, and it’s compact, so it’s good for small spaces. Besides that, it saves resources, because food scraps don’t need to go to the city compost.
Caseigh: Right, I never thought about the resources it takes for the city to take our compost. But getting our own super dirt for the garden is great.
What are the first steps to worm composting?
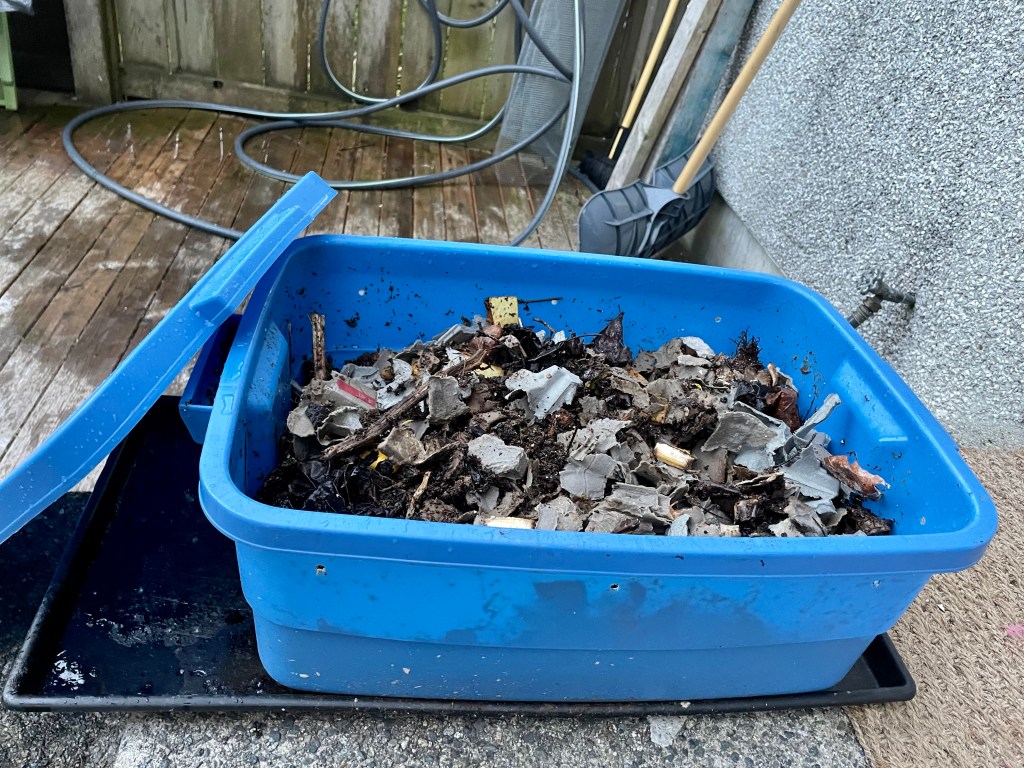
Steve: Yeah, so get a bin, like a Rubbermaid. Then drill your holes for ventilation.
Sandra: The ones from city come pre-drilled, and then they come with a tray too.
Steve: Yeah, if you get your own bin, put holes on the top sides for air, so if it’s too moist, the humidity can escape through the holes, but make them smaller than the worms would be. Then, at the bottom, drill holes for the liquid to drain out.
Once you have your bin, then you need bedding and the right worms, not the earthworms from your garden.
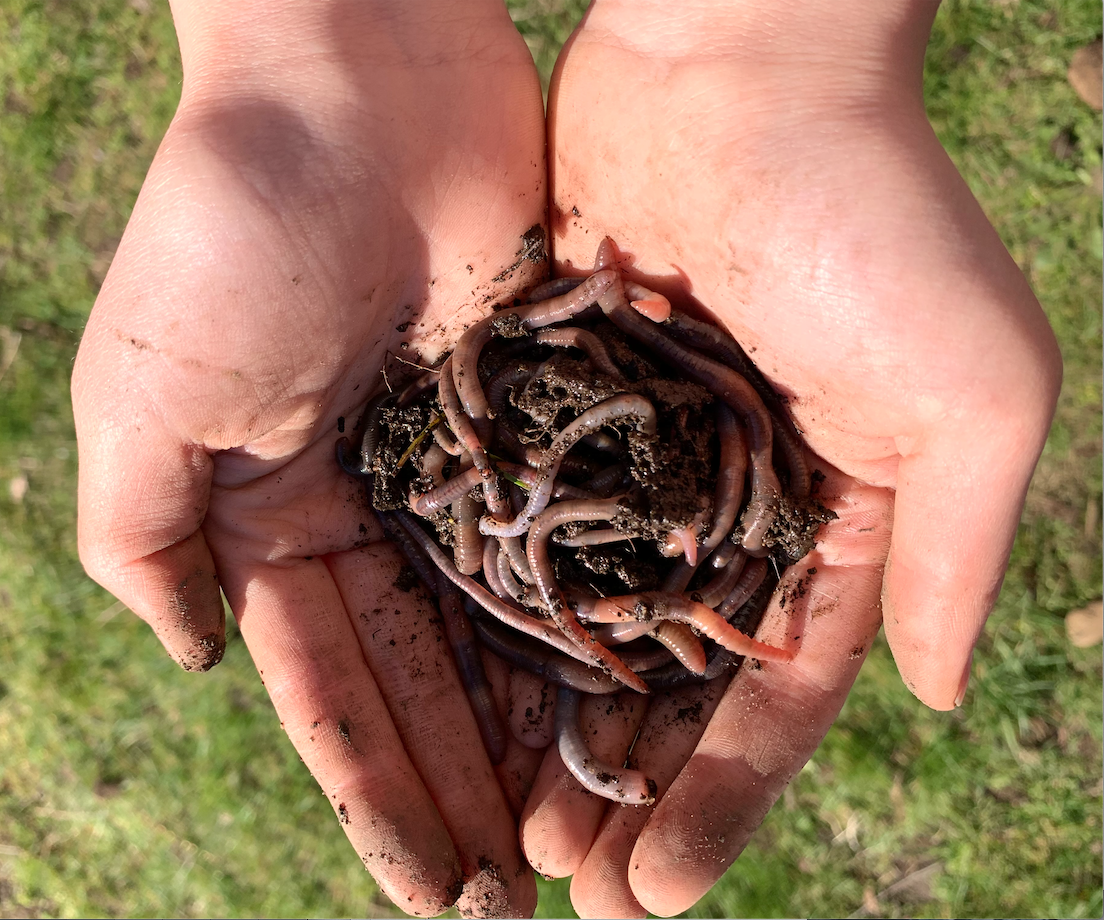
Caseigh: Okay, tell us more about the worms.
Steve: They’re a type of earthworm, but the ones you would dig up from your garden are not the ones that would eat your food waste in a compost bin. Red wigglers are the right type. So, you would either purchase them or find somebody that has some.
Sandra: Where can someone find red wigglers?
Steve: If you look on Craigslist, there are listings there, or maybe the city supplies them. And then once you have them, they do reproduce.
Caseigh: Okay, and then what do we need to know about the bedding?
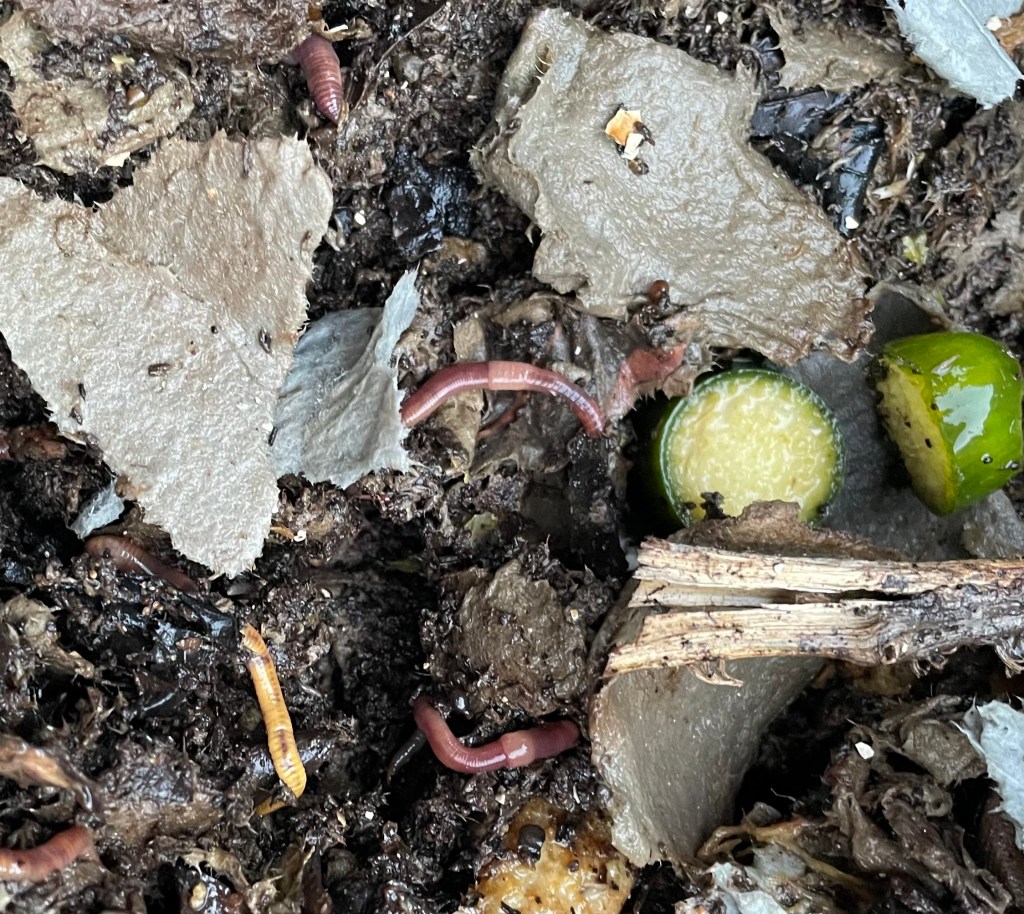
Steve: Having the right bedding is important. The red wigglers do not dig into the dirt, they just stay in the bedding. So, you can use straw or newspaper strips or shredded cardboard. The ink on flyers is vegetable based, so that’s fine too. Then don’t like light, so cover your food scraps with the bedding, so they can get at the food without being exposed to light.
The moisture level is a factor too, because these worms breathe through their skin. You want about moisture levels at about 80% in the bedding.
Caseigh: How can you tell if your box is at an optimal level?
Steve: It should be like a wrung out sponge. I think mine is too wet right now, actually. It’s soggy at the bottom, so maybe I need a better drainage. I’ll turn it all over though. I think I disturb them more than is recommended, because I like to see the worms. They’re pretty fun!
Caseigh: Yes, they are! Okay, what do you feed the worms? What food scraps do you put in?
Steve: Vegetable cuttings, peels, cut fruit, lettuce, eggshells… . I crumble eggshells in my hands, but some people pulverize the eggshells into a fine powder. The worms use the calcium, and they need some sort of grit. If you have some sand, you can throw that in.
Avoid dairy products and meat, so if you have chicken bones, don’t put those in there. No cooked food either. And I’ve never put baked goods in there either, because they have eggs and dairy. Maybe the worms would be okay with it, but it might be stinkier and attract raccoons.
Coffee grounds can be put in too. Don’t overload with it, because it’s acidic, but adding some every other day is okay. Oh, and then avoid the orange peels. The worms don’t like them.
Another thing that helps the worms eat your food is if you freeze your food first to help the cellular walls break down. And if you cut up the pieces of the food waste, it will speed up how fast the worms will eat the food. Watermelon rinds are especially good – they get eaten up really fast.
And then don’t overfeed them. People usually give them tons more than they need. Worms are slower to eat, and they don’t eat more food just because it’s there. Though with your proportions, you do need more greens, which are the food scraps, than browns, which is the bedding.
If you are overfeeding, take a break. You can take a vacation and not worry about getting someone to come over and feed them for you.
Caseigh: That’s really good information. Where do you keep the worm bin?
Steve: Some people are able to keep them indoors, but ours is outside by the fence on top of dirt where the summer sun won’t hit it too much. There’s a temperature range where you get the fastest compost happening. They slow down in winter, and I think if it’s super hot, they might slow down as well. But even if it’s pretty hot or cold, they’re resilient. Our survived the last winter when it got to about -10 degrees.
Caseigh: How long does it take for the worm compost to be ready to be put into the garden?
Steve: Yeah, I’ve never measured the time for ours, but I think for some people it’s over six months. I’m not as patient, so I have sections in our compost where I will start putting the food on one side so that the worms will venture over to that side of the bin, and then a few weeks later, I’ll start digging down on that side to harvest the dirt.
It will probably be a few months before you have enough to harvest for your own garden. But there are a few different methods to get the dirt. Some people dump the whole bin onto a tarp on a sunny day, and then because the worms don’t like light, the worms will dig down. Then you can just scoop off the top. So, that’s the dumping method.
Then what I’ve done is just shovel out half of the bin onto a tarp, and then I’ll sit there picking out the worms and putting them back in the bin. I had a pail to scoop the compost into once it was picked through for worms and bigger food scraps. I was doing it for two hours, but that’s with the kids’ help and not fully focused. Then we mixed the compost with dirt for new plantings that we have.
Caseigh: How much does it cost to set up a bin?
Steve: Rubbermaid bins are only about $10. The big cost is for the worms. I think I’ve heard about $30 for a pound of worms, which is what you’d start with.
Sandra: The kits from the city are $25, but they don’t come with worms. And we are so thankful you shared your worms with us!
Okay, final question: did you notice a difference with your garden last year with the worm compost?
Steve: Yeah, we definitely had a really good year! And we are going to keep going with it.
Caseigh: Thanks again, Steve. This has been a great interview. We’re looking forward to using our worm compost in our garden!
So, for those in the Vancouver area who are interested in worm composting, check out the Vancouver Compost Demonstration Garden. And, here’s an online resource with more information: https://learn.eartheasy.com/articles/worm-composting-basics-for-beginners/
Thank you for joining us for our Spring Planting series. We hope you been able to enjoy the buds and blooms that this season offers. As always, comments and tips are welcome in the comment box.
Caseigh & Sandra
